Frequently, I find myself and other IT support personnel need to quickly gain access to remote systems, run scripts against remote systems, or remote controlling computers for troubleshooting purposes. I typically head straight to the command line or run the related Active Directory administration tool directly; however, if the task needs to happen against several systems, I will code-up or download a script and customize it to do what I need it to do.
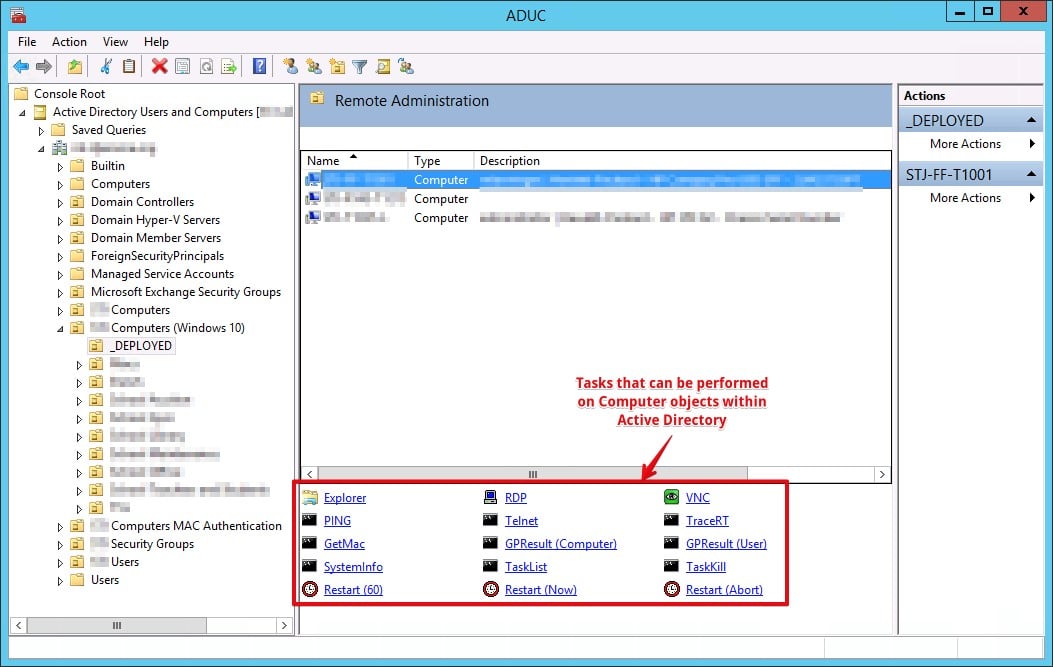
But how can you add some quick functionally (specifically more GUI driven extensibility) to ADUC to make life easier for yourself or to delegate responsibilities to other IT support techs? Welcome to Active Directory TaskPads, a little known feature available to us server administrators! AD TaskPads have been around since Windows Server 2000. I haven’t used them very much over the years, but recently, I wanted to add some functionality on one of my client’s network for easier remote management.
Taskpad view example inside Active Directory users and computers console
For security purposes and better performance (especially for RDP/VNC remote access) I would recommend installing Microsoft’s Remote Server Administration Tools (RSAT) tools directly on your workstation to remotely administer Active Directory objects and to perform daily tasks eliminating the need to physically logon to your production servers. Keep in mind, custom MMC console files (e.g. Console.msc files can be copied to and run from other computers as long as the necessary snaps-ins are available on that machine).
Step 1 – Download and install Microsoft’s RSAT tools for your specific OS version from here. If you prefer to setup a custom Taskpad directly on your server, but do not have the Active Directory roles installed, head over to the “Add Role and Features Wizard” and add the following features to install the necessary MMC snap-ins on your system:

This Wisconsin manufacturer needed to modernize its IT infrastructure to support rapid business growth.
Discover what they did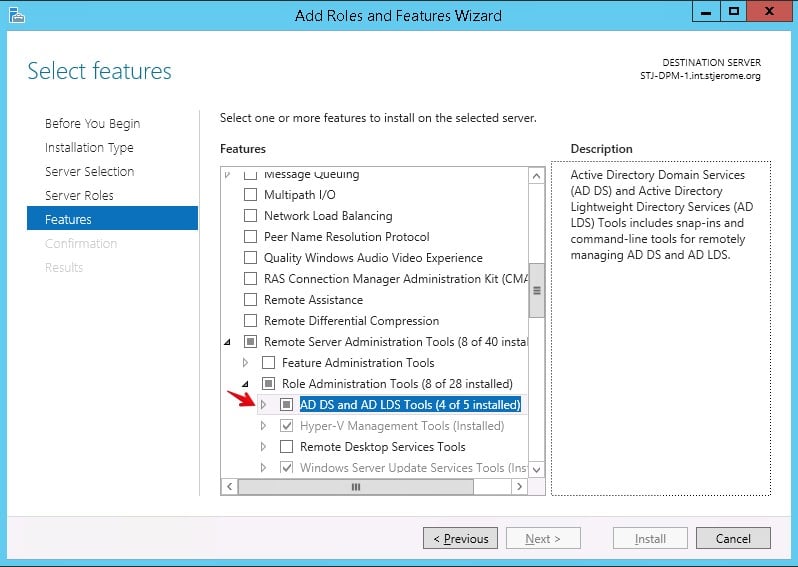
Step 2 – Next, create a new MMC management console.
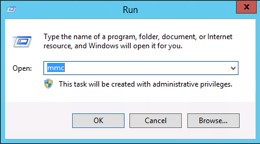
Go to “Start > Run > mmc > enter” to create a new MMC management console.
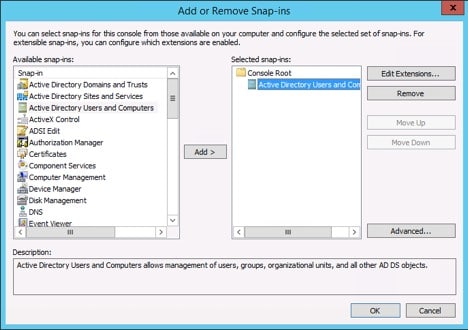
Next go to “File > Add/Remove Snap-in” dropdown and add the “Active Directory Users and Computers” snap-in.
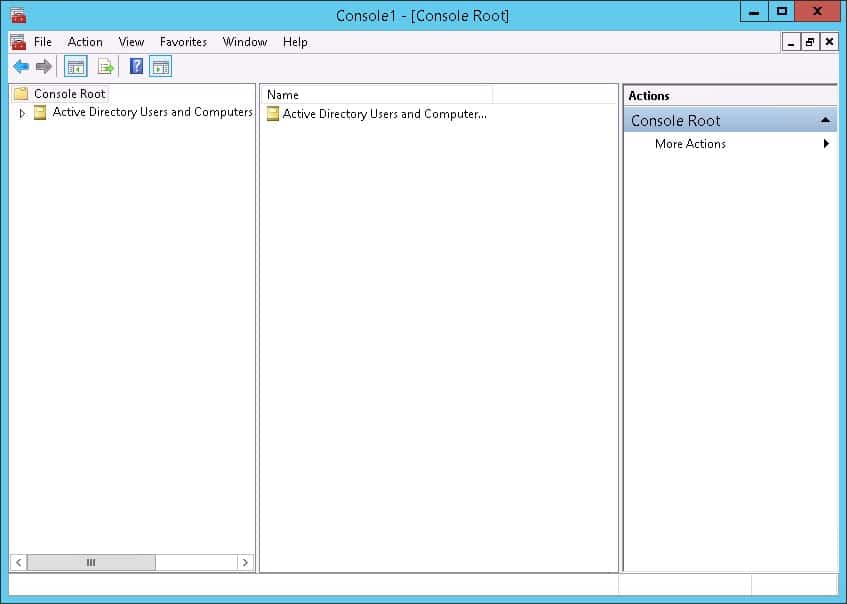
Once you have the ADUC snap-in loaded into your console, go to “File > Save” and save the management console to your desktop as ADUC.msc or another name you prefer. More about creating custom MMC console can be found here.
Step 3 – Create a New Taskpad View
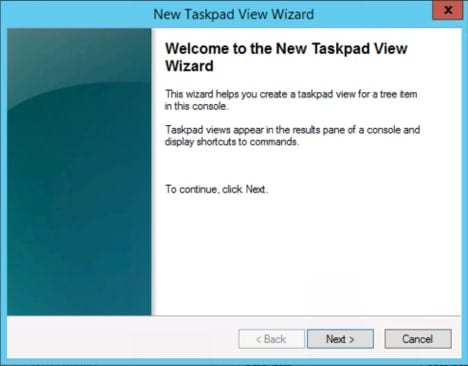
Navigate to an OU that contains the User or Computer objects you want to create a Taskpad view for, right-click on the OU, and select “New Taskpad View” and select “Next” on the New Taskpad View Wizard screen.
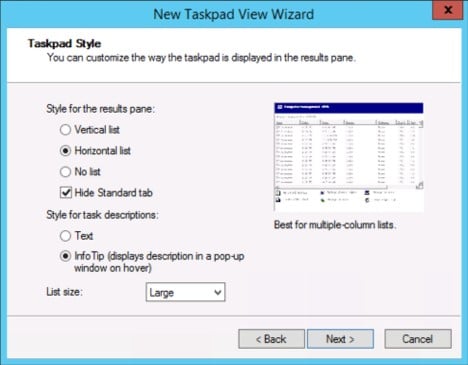
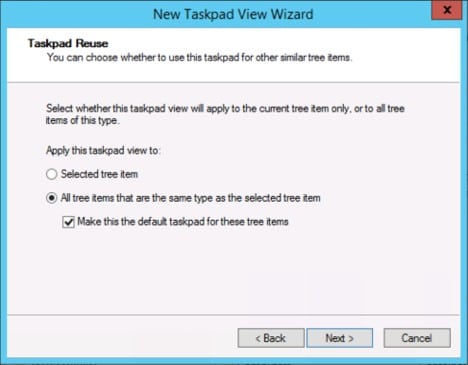
Define how you would like your Taskpad to be formatted, then click “Next”
Define whether or not the Taskpad View should be associated to other tree items if they contain matching computer objects or independently and select “Next”
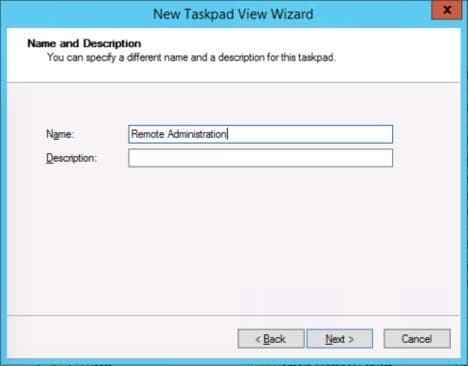
Enter a name for the Taskpad View that will be shown within the console for that particular OU and select “Next”.
Finally, ensure “Add new tasks to this taskpad after the wizard closes” is checked and click the “Finish” button.
Step 4 – Create a New Task for your Taskpad View
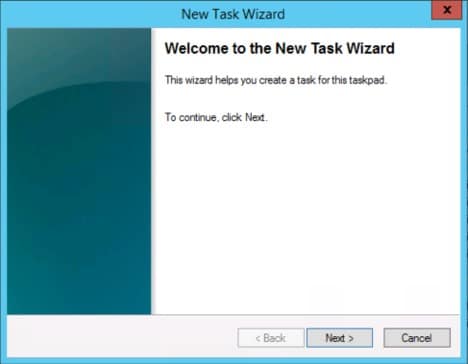
The New Task Wizard should open automatically. If it doesn’t open automatically, right-click on the OU you created the new Taskpad View on and select “Edit Taskpad View”, select the “Tasks” tab, and click on the “New” button to launch the wizard. Once the New Task Wizard opens, select “Next”.
Here’s where the real fun begins and I encourage you to explore all the things that can be done. In this example, I will create a very simple task that will run a batch script that will PING a computer object. I have found that creating batch scripts (or powershell/vbscripts) will give you the most flexibility.
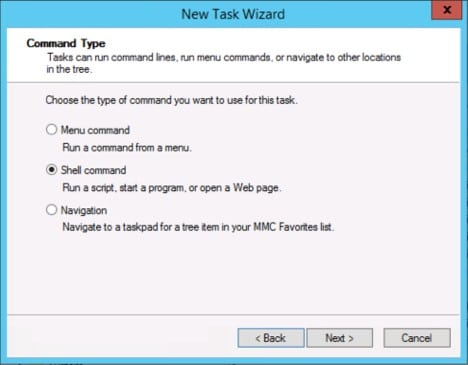
Select “Shell command” radio button and select “Next”
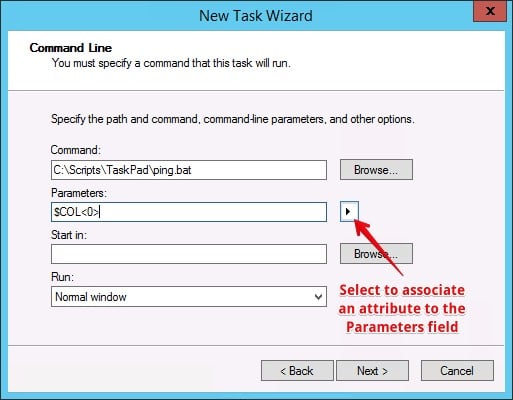
On this screen, browse to your script and select it. Next, for this example we’ll pass the “Name” Active Directory attribute to the Parameters field (select the arrow button next to the Parameters field and select the “Name” attribute.
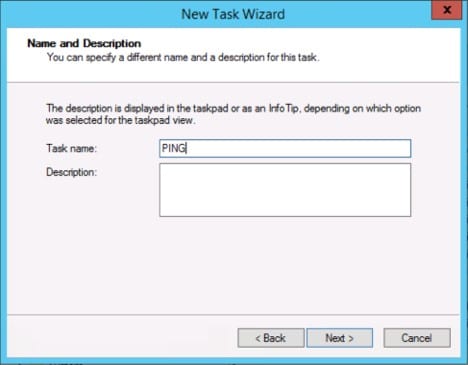
Enter a Task name and optionally a description, then select “Next”.
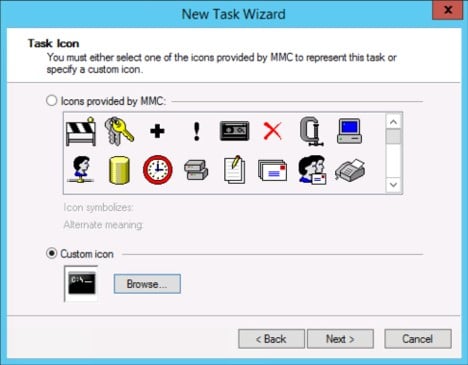
Select an icon to display next to the Task inside the Taskpad View of the console and select “Next”.
Here is the ping.bat script the Task will be executing:
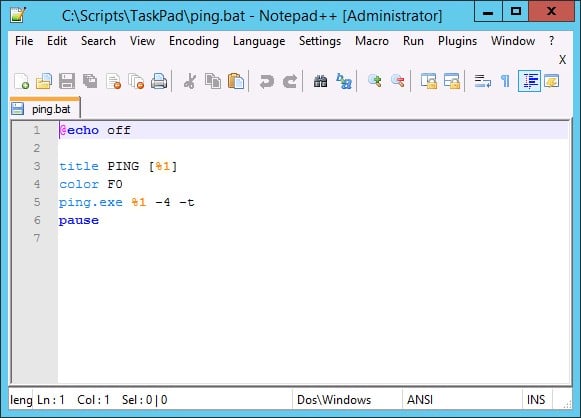
Finally, select “Finish” to close the wizard.
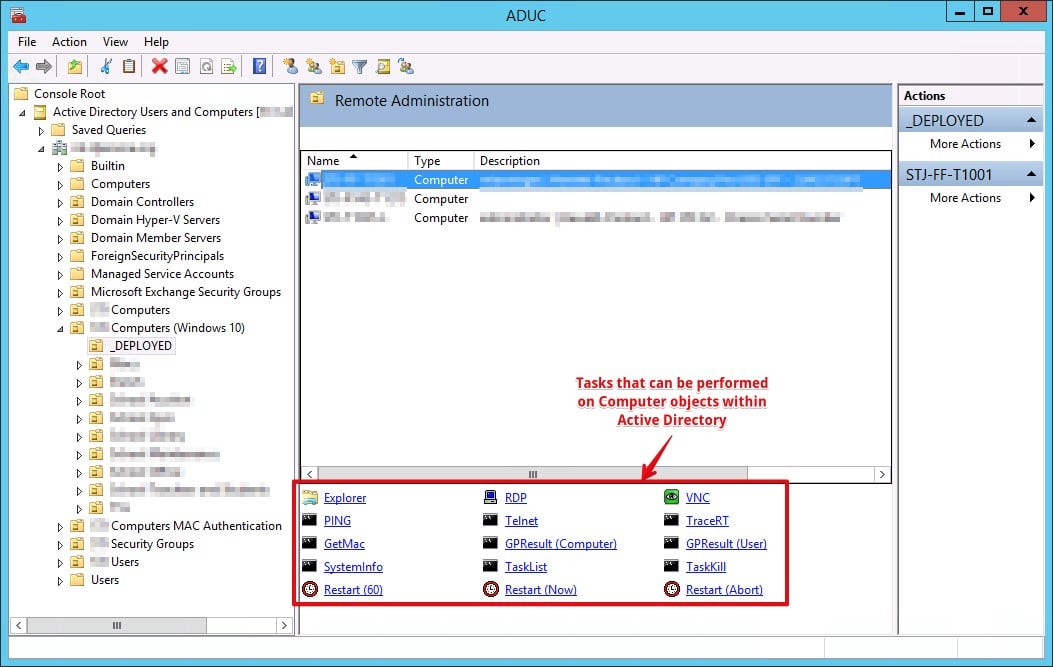
Head back to your OU containing the computer objects, select a computer, and click on the new PING task you just created.
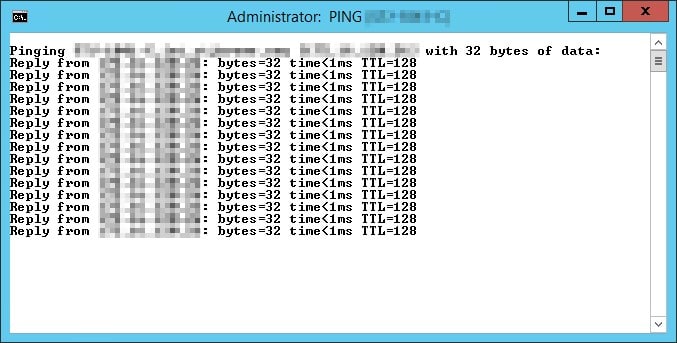
Voila! hopefully the task works for you and you find some useful situations where Taskpad Views may come in handy. Keep in mind that the OU container and/or it’s parent container name can be passed to the Parameter field within you task/script so you can easily create scripts to query AD objects and run “for loops” within your scripts to perform bulk administration. Also, Taskpads can be done against user objects, groups, etc. Very cool!


