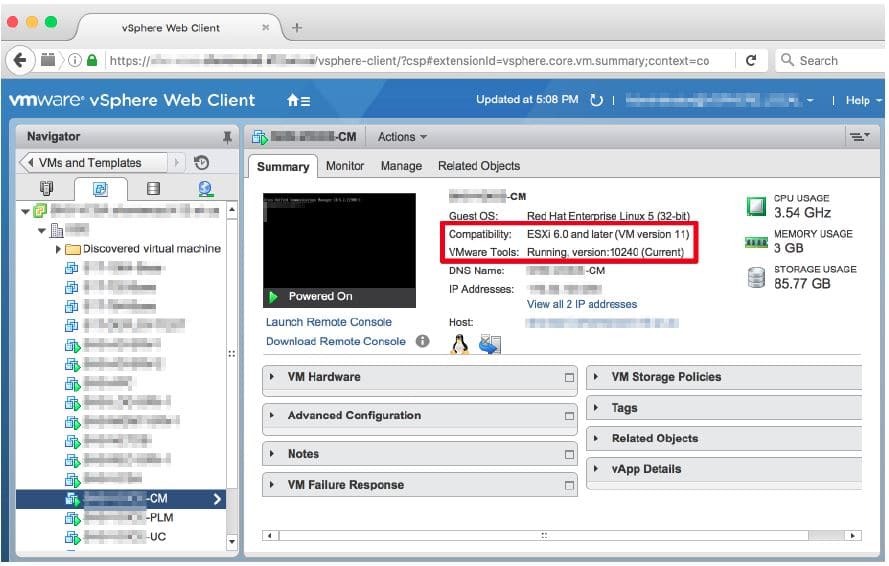
In this article, we look at how to upgrade VMware Tools and Virtual Hardware for Cisco CM, PLM, and UC virtual servers.
- Upgrade your VMware vSphere environment if applicable (outside the scope of this guide)
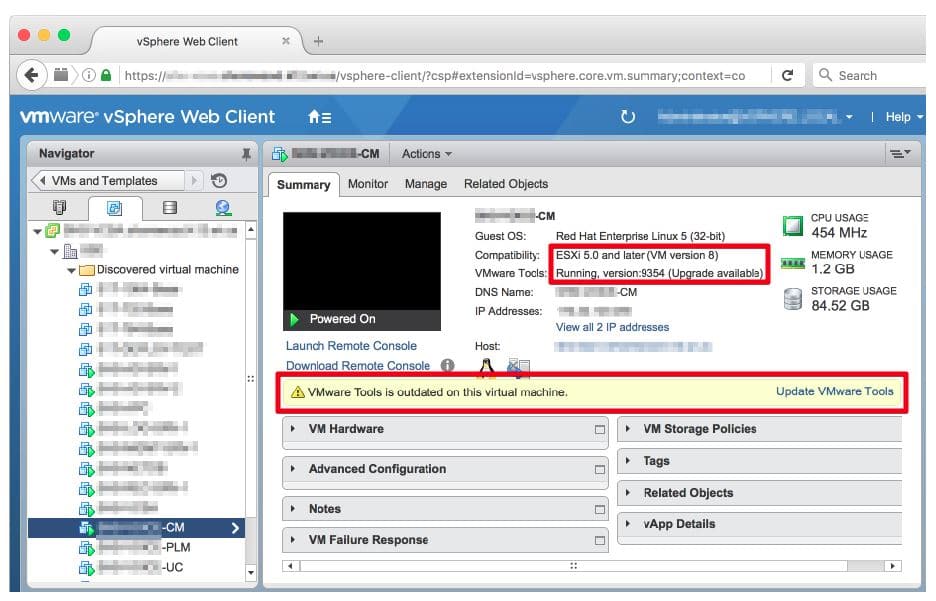
- Once your VMware vSphere environment is upgraded, logon to your VMware vSphere Web Client and you will see that your VMware Tools and the Virtual Hardware will need to be upgraded on all your virtual servers to take advantage of the latest VMware software features:
- Grab a backup and/or snapshot of your Cisco virtual servers prior to the VMware Tools and hardware upgrades (in my case this will be a total of 3 virtual servers: Cisco-CM, Cisco-PLM, and Cisco-UC servers)
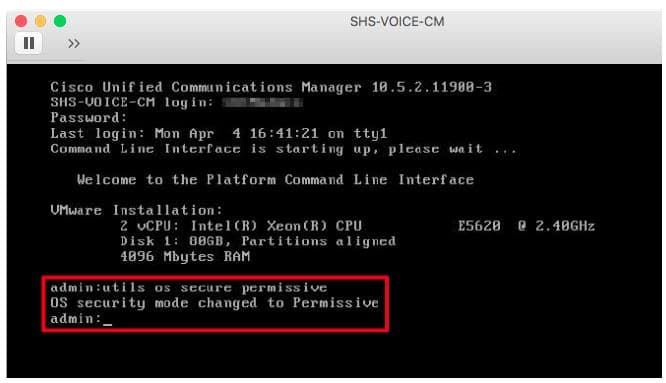
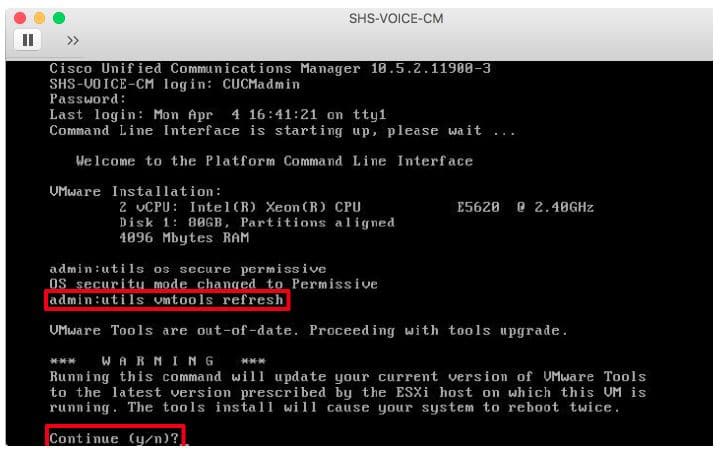
- Logon to Cisco virtual server CLI and run:
admin: utils os secure permissive
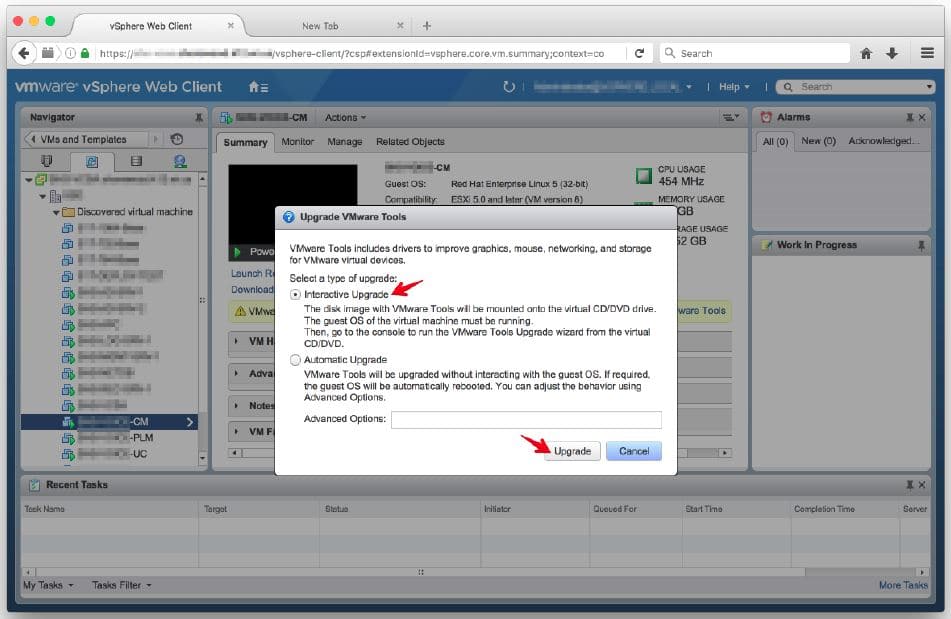
- Logon to your VMware vSphere Web Client and do: Install/Upgrade VMware Tools (interactive mode only)
- Head back to your Cisco virtual server CLI and run: admin: utils vmtools refresh (the VM should restart automatically)
- After the VMware Tools upgrade, logon to Cisco virtual server CLI and run the following, admin: utils system shutdown
- Head back over to your VMware vSphere Web Client: Once the VM is shutdown, right-click on the VM node > Compatibility > Upgrade VM Compatibility (upgrade to your desired hardware version, in my case this will be version 11) and after the upgrade power-up the VM
- Logon to Cisco virtual server CLI and run:
admin: utils os secure enforce
admin: utils system restart - Verify the VMware Tools and Virtual Hardware is running correctly and finally, don’t forget to delete your snapshots!
